
Will A Motherboard POST Without A CPU | What You need to know
The Power-On Self-Test (POST) process is an integral part of how a computer starts up. During this step, the motherboard checks that different pieces of hardware are working correctly. As one of the most critical parts, the central processing unit (CPU) is what makes a computer work.
No, a motherboard cannot POST without a CPU. The CPU is essential for the computer’s core functions, and its absence prevents the motherboard from initializing.
Many people wonder whether a motherboard can POST without a CPU, and in this article, we will explore this question in detail.
Historical Context:
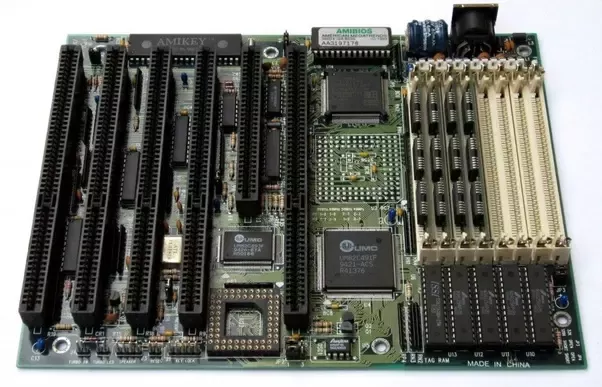
An older type of motherboard would only let a computer turn on with a CPU installed. The CPU is an important part of any computer system, so this was a typical drawback.
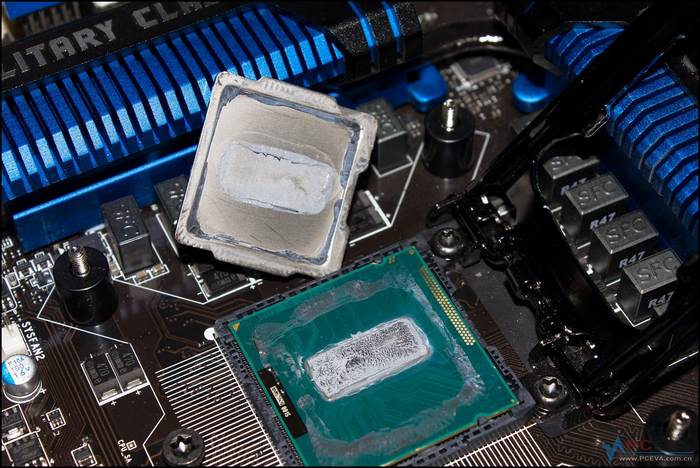
The CPU is the brain of the computer, and many parts, such as the GPU (Graphics Processing Unit), are closely linked to it. Without a CPU, the computer couldn’t send data to the screen, so there wasn’t a POST screen.
1. No CPU, No GPU, No Display:
Remembering the universal formula is “No CPU = No GPU = No Display = No POST screen.” In most cases, the GPU won’t function without a CPU, leading to a display output’s absence. This, in turn, prevents the typical POST screen from appearing during startup.
Newer Motherboard Features:
It’s important to note, though, that some new motherboard names and models have features that let them work with a CPU, but not entirely. These tools are more common on new motherboards and are meant to make things easier for users.
1. Accessing BIOS/CMOS Settings:
Some newer motherboards let people get to the BIOS/CMOS settings even when there is no CPU installed. This can help set up the BIOS choices and settings before the CPU is put in.
2. BIOS Flashback:
BIOS flashback is a feature that only some modern motherboards have. Users can turn on the PC without a CPU installed.
However, it’s essential to keep in mind that this only gives you access to some motherboard functions and doesn’t allow the whole POST and boot-up process. For the computer to fully work, it still needs a CPU.
How To Test Motherboard POST Without CPU?
It is infrequent and usually not a good idea to test a motherboard’s POST without a CPU. During the POST (Power-On Self-Test) process, the CPU needs to set up and coordinate different pieces of hardware. But if you really want to do this for specific reasons, here are some steps to consider:
1. Disconnect Your Motherboard:
Carefully disconnect your motherboard from other components, ensuring it’s not connected to power.
2. Plug-in Power Connectors:
Connect the necessary power connectors to your motherboard. This includes the 24-pin connector for the motherboard’s power supply.
3. Install Other Components:
You can install other essential components like RAM, graphics cards, and storage devices to check the power delivery. Keep in mind that this is not a typical scenario for a POST.
4. Connect PSU:
Connect the Power Supply Unit (PSU) to your motherboard. Ensure all connections are secure.
5. Turn On The Motherboard:
Power on the motherboard to check if all parts are well-placed and if there’s any indication of power.
Important to know that this process could result in a different POST screen or a change in how the system works. The POST process on most motherboards needs a CPU; with one, you probably will be able to finish the POST. The CPU is an important part of setting up and running the system.
This scenario does not apply to laptops, as they have integrated processors that cannot be easily replaced or tested in the same way as desktop CPUs. Laptops have a different design and architecture.
How To Update Motherboard BIOS Without CPU?
Updating the BIOS (Basic Input/Output System) of a motherboard without a CPU is not a common scenario. Still, it’s possible on certain modern motherboards that support this feature, such as the GIGABYTE A520MH. Here are the steps to update the BIOS without a CPU:
Note: This process requires careful attention and adherence to the specific instructions provided by your motherboard manufacturer. These steps are provided as a general guide, and the details may vary depending on your motherboard model.
Step 1: Check Your Motherboard Version
Before attempting a BIOS update, you must know your motherboard’s exact model and version. You can do this through the following methods:
Using Windows Command Prompt:
- Press the Windows key + R to open the Run prompt.
- Type “cmd” and press Enter to open the Command Prompt.
- In the Command Prompt, type the following command: “wmic baseboard get product, Manufacturer” and press Enter. This will display your motherboard’s product and manufacturer information.
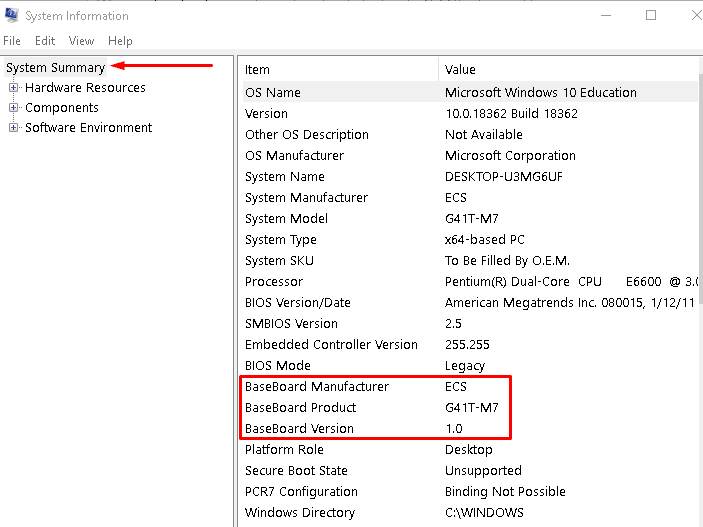
Alternative Method:
- Press Windows + R to open the Run dialog.
- Type “msinfo32” and press Enter to open the System Information window, displaying your motherboard model and brand.
Step 2: Obtain The BIOS Update File
Go to your motherboard manufacturer’s website and navigate to the support or downloads section. Search for the latest BIOS update for your specific motherboard model and version. Download the BIOS update file (UEFI) to your computer.
Step 3: Prepare A USB Flash Drive
Create a bootable USB flash drive. The motherboard manufacturer’s website may provide a utility for creating a bootable USB drive, or you can use third-party tools like Rufus.
Step 4: Copy BIOS Update To USB Flash Drive
After creating the bootable USB drive, copy the downloaded BIOS update file to the root directory of the USB flash drive.
Step 5: Perform The BIOS Update
- Ensure that your motherboard is appropriately connected to a power supply and that the 24-pin power connector is securely attached.
- Insert the prepared USB flash drive into the appropriate USB port on your motherboard.
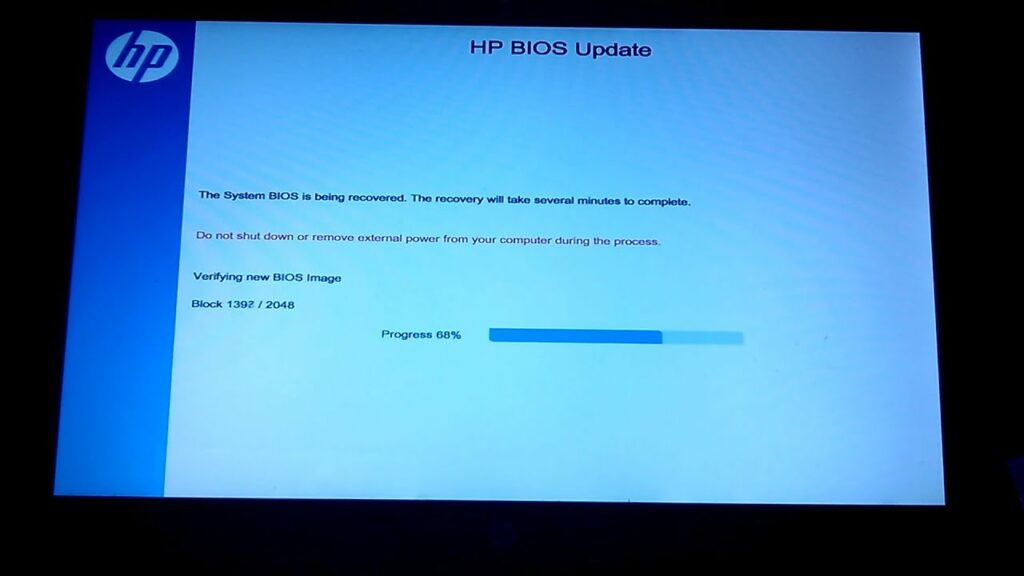
- Power on your motherboard.
- You should see an indicator light on the motherboard begin flashing. This indicates that the BIOS update process has started.
- Do not power off your motherboard during this process, as it can damage the BIOS.
Step 6: BIOS Update Completion
After some time, the indicator light will turn off, indicating that the BIOS update process is complete. Congratulations, your BIOS update worked even though you didn’t have a CPU.
Keep in mind that not all motherboards support this feature, and it’s vital to follow the manufacturer’s instructions exactly to make sure the update goes smoothly.
Also, there are some risks when you update the BIOS, so make sure you use the right BIOS update file for your motherboard to avoid problems.
Frequently Asked Questions:
1. What precautions should I take when updating the BIOS without a CPU?
If you’re updating the BIOS without a CPU, make sure you have the right file for your motherboard model. Carefully follow the manufacturer’s instructions, and don’t turn off the power to the motherboard while the update is running.
2. Is there any risk involved in updating the BIOS of a motherboard?
There is a chance of harm when you update the BIOS. If it’s not done right or the wrong BIOS file is used, it could damage the motherboard permanently or make it behave badly. It is essential to follow the instructions carefully.
3. What causes a motherboard not to POST?
Something wrong with the power supply (PSU) or power cables that aren’t connected correctly can cause the POST to fail. To figure out what’s wrong, unplug all the peripherals but the power cable and check the power connectors on the CPU and motherboard.
Conclusions:
To sum up, a motherboard usually can’t do a POST (Power-On Self Test) without a CPU. The central processing unit (CPU) is an integral part of a computer that acts as its brain and helps the other hardware parts work together.
Since the motherboard doesn’t have a CPU, it doesn’t have the processing power it needs to set up the system, so it can’t finish the POST process.
Even though some modern motherboards can do some things without a CPU, the CPU is still necessary for the POST to work and for the system to run in general.
Sources:
- https://10scopes.com/will-a-motherboard-post-without-a-cpu/
https://forums.tomshardware.com/threads/motherboard-testing-without-cpu.3502548/#post-21165420 - https://www.reddit.com/r/buildapc/comments/a4rxq8/would_my_computer_turn_on_without_cpu/
- https://techreviewteam.com/hardware/will-motherboard-post-without-cpu-and-ram/