
AIO Not Cooling CPU | How To Fix AIO Not Cooling CPU? 2023
All-in-one (AIO) liquid coolers have become increasingly popular for cooling high-performance CPUs. However, there are instances where users may encounter issues with their AIO liquid coolers not effectively cooling the CPU.
To fix AIO not cooling CPU: First, Check for air bubbles by tilting the PC gently; maximize pump speed temporarily; re-seat the cooler securely on the CPU.
In this comprehensive troubleshooting guide, we will explore common reasons for this problem and provide step-by-step solutions to help you resolve it.
Causes Of AIO Not Cooling CPU:
1. Air In The Cooling Loop:
One of the most common culprits behind an AIO cooler’s inability to cool the CPU is air trapped in the cooling loop. Air bubbles can hinder the flow of the coolant, reducing its efficiency in dissipating heat.
2. Improper Mounting:
Incorrectly mounting the AIO cooler can also lead to poor cooling performance. Ensure that the cooler’s cold plate makes full and even contact with the CPU’s integrated heat spreader (IHS).
3. Pump Failure:
The pump in your AIO cooler is responsible for circulating the coolant through the system. If the pump fails, the coolant won’t move, and your CPU will quickly overheat. Signs of a pump failure include hearing no or deafening noises from the pump or feeling no vibrations from it.
4. Blocked Radiator Or Fans:
An AIO cooler’s radiator relies on fans to dissipate heat efficiently. If the radiator or fans are clogged with dust and debris, it can significantly reduce cooling performance.
5. Insufficient Thermal Paste:
Using too little or too much thermal paste can impact the thermal conductivity between the CPU and cooler.
6. Software And Firmware Updates:
Sometimes, issues with AIO coolers can be resolved through software or firmware updates. Check the manufacturer’s website or software utility for updates that may address cooling performance problems.
7. System Monitoring:
Utilize software to monitor your CPU temperatures. If the temperatures are consistently high, it may indicate a cooling issue. Additionally, you can monitor the pump speed to ensure it’s operating correctly.
How To Fix AIO Not Cooling CPU? Step By Step Guide:
For flushing the AIO cooler’s lines and ensuring the gunk isn’t present elsewhere, you can follow these steps:
Step 1: Dealing With Air In The Cooling Loop
- Tilt the PC: Gently tilting your computer case back and forth or side to side can help release trapped air bubbles from the AIO cooler. Be careful not to tilt it too aggressively, as this can cause other problems.
- Run the pump at maximum speed: Most AIO coolers come with adjustable pump speed settings. Set the pump to run at its maximum speed temporarily to help push air bubbles out of the system.
- Re-seat the cooler: If the problem persists, you may need to re-seat the AIO cooler. This involves uninstalling it and then reinstalling it, making sure it’s properly secured and making good contact with the CPU.
Step 2: Drain The Cooler:
Carefully remove the AIO cooler from your PC and drain the coolant. You can typically do this by disconnecting the hoses and making sure to catch any spilled liquid in a container.
Step 3 Flush With Distilled Water:
Fill the cooler with distilled water and shake it gently to dislodge any remaining debris. Then, carefully pour out the water. Repeat this process until the water comes out clean.
Step 4: Inspect The Radiator:
Shine a flashlight into the radiator to check for any debris or gunk. You can also blow compressed air through the radiator fins to remove any dust or residue.
- Ensure that both the fans and the radiator are free from dirt, dust, and debris.
- Clear any obstructions that may hinder airflow.
- Regularly cleaning these components can significantly improve cooling efficiency.
By following these steps, you can ensure that your AIO cooler is free from obstructions, which leads to improved cooling performance.
Alternative Methods To Fix AIO Not Cooling CPU:
The steps we’ve outlined are practical and can be effective in troubleshooting and resolving CPU overheating issues related to AIO coolers:
1. Reapply Thermal Paste:
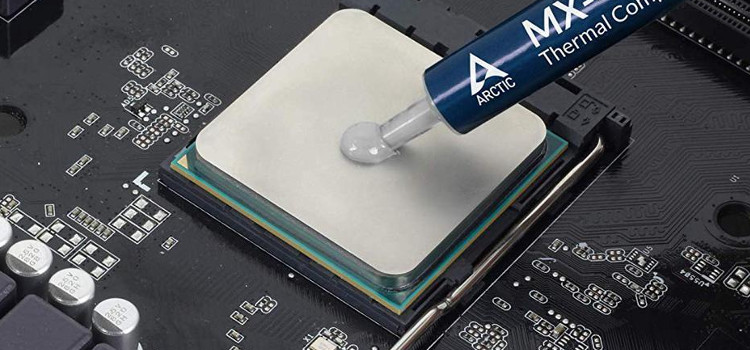
Over time, the thermal paste can dry out or degrade, leading to reduced heat transfer between the CPU and the cooler. It’s crucial to ensure that you have correctly applied thermal paste when mounting the CPU cooler.
When you removed and reinstalled the cooler, did you clean off the old thermal paste and apply a fresh, thin layer? Reapplying fresh thermal paste can improve thermal conductivity and heat dissipation.
2. Check Cooler Header Settings:
- If your AIO cooler is equipped with a 3-pin header and lacks a SATA connector, it relies on the motherboard’s settings for fan control.
- Access your PC’s BIOS settings and ensure that the title connected to the AIO cooler is configured to run at its maximum or fastest setting.
3. Cooler Orientation:
This setup, with the fan connected to SYS_FAN and the heatsink (pump) attached to CPU_FAN, needs to be corrected.
Typically, the pump should be connected to a dedicated AIO_Pump or Pump header on your motherboard to ensure it runs at a constant speed.
In contrast, the fan(s) should be connected to CPU_FAN or SYS_FAN headers for temperature-based control. This incorrect setup could have contributed to the problem.
4. High CPU Temperatures:
The fact that your CPU temperatures are rapidly rising even in the BIOS indicates that there’s a significant cooling issue. AIO coolers should be able to handle BIOS-level tasks without causing the CPU to overheat.
It’s not uncommon for CPU temperatures to spike briefly when launching games or under heavy load, especially with modern CPUs.
The key is that these spikes should settle down to a reasonable temperature during gameplay. Its reported temperatures of 60-75 degrees Celsius during gaming are within acceptable limits.
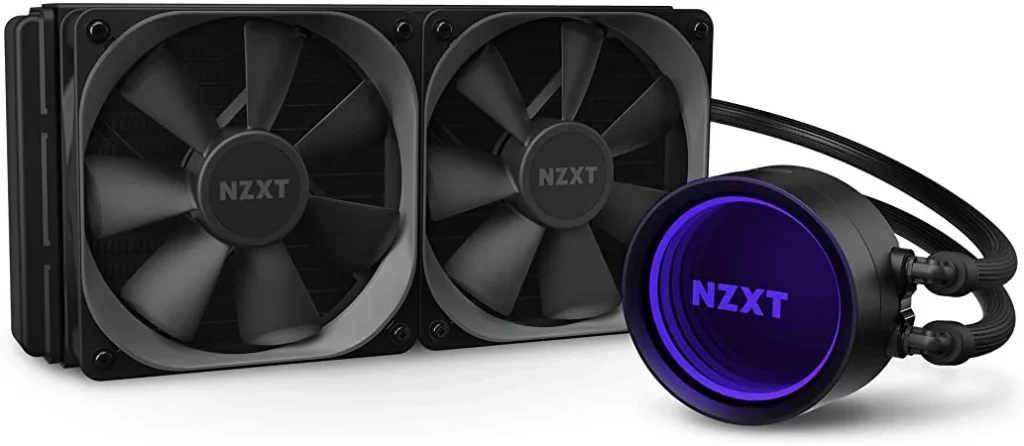
5. Consider Upgrading:
While waiting for the RMA process, consider upgrading to a larger AIO cooler or a high-quality air cooler, especially if you plan to overclock or run demanding applications. A 240mm or 280mm AIO cooler should provide better cooling performance for your CPU.
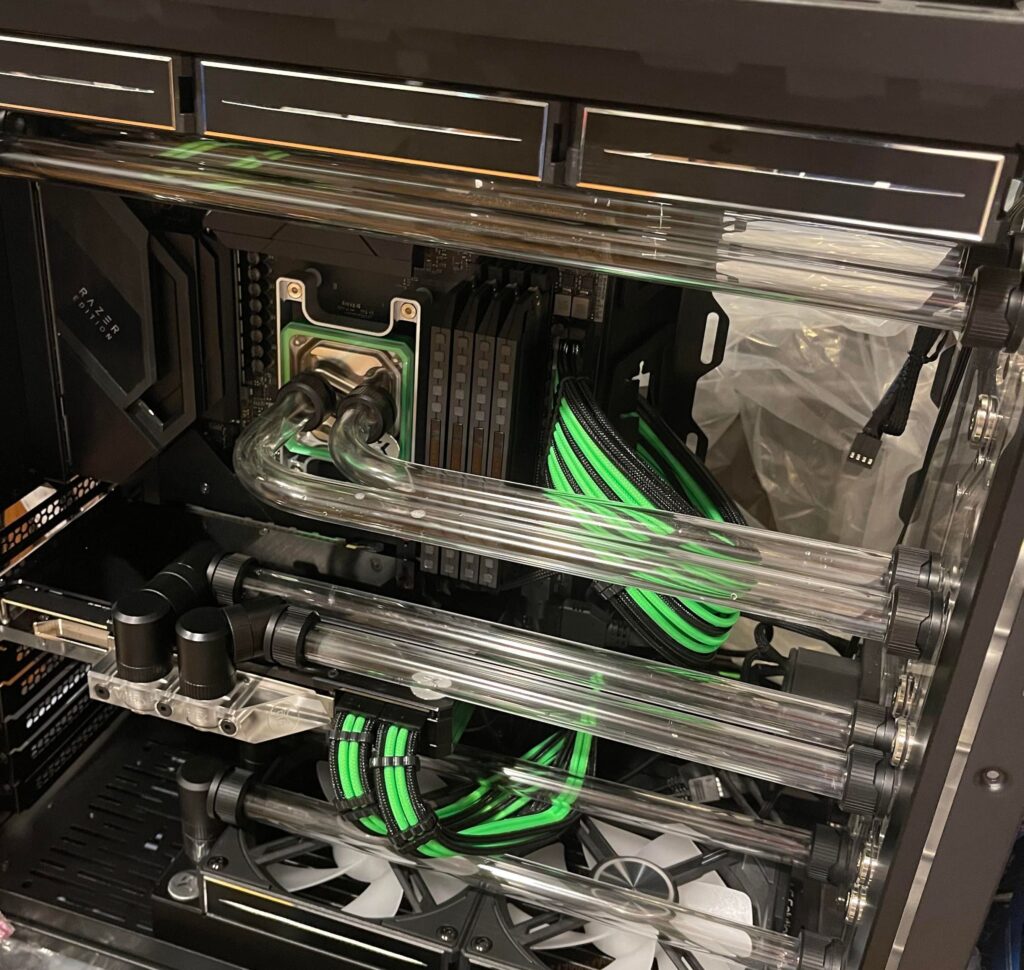
6. Check For Leaks:
Ensure that there are no visible leaks from the AIO cooler. Check the tubing, fittings, and the radiator for any signs of liquid leakage.
It is mentioned that the coolant temperature is around 30 degrees Celsius. This is within a normal range, and as long as it doesn’t significantly increase under load, it’s not a cause for concern.
7. Cooler Orientation:
We know that the AIO cooler is installed vertically, with the pump sitting lower than the top of the radiator.
This orientation should be acceptable as long as there are no air bubbles trapped in the pump, which we mentioned we’ve addressed by shaking the system.
Verify that the orientation of the cooler is correct. The hoses should be positioned to allow proper coolant flow. More than incorrect hose orientation can lead to cooling inefficiencies.
8. AIO Cooler Pump Operation:
It’s good to know that we’ve verified the AIO pump’s operation using Corsair iCUE. A pump running at 2400-2600 RPM should be sufficient for cooling, and the fact that it’s operational is a positive sign. It’s mentioned setting the pump and radiator fans to “extreme settings,” which should provide efficient cooling.
9. BIOS Settings:
Check your BIOS settings to make sure that the CPU fan and pump are configured correctly. Ensure that the pump is set to run at its maximum or recommended speed.
By following these steps, users can often troubleshoot and resolve CPU overheating issues related to AIO coolers without voiding the warranty or risking damage to the components.
FAQs:
1. Can Air Bubbles In The AIO Cooler Really Affect Cooling Performance?
Yes, air bubbles in an AIO cooler can indeed impact cooling performance. They disrupt the flow of coolant, diminishing its ability to dissipate heat efficiently. To resolve this, tilt the PC, temporarily run the pump at maximum speed, or re-seat the cooler to release trapped air.
2. Is It Normal For CPU Temperatures To Spike Briefly During Gaming With An AIO Cooler?
Yes, it’s normal for CPU temperatures to briefly spike during gaming with an AIO cooler. The key is that temperatures should return to a reasonable range during gameplay, indicating effective cooling.
3. How Do I Optimize Aio Cooler Settings In Corsair iCUE?
To optimize AIO cooler performance in Corsair iCUE, access the software, set the pump to max speed for efficient coolant circulation, and customize fan curves to respond to temperature changes. These steps ensure that CPU temperature stays safe during tasks like gaming.
Conclusion:
In conclusion, troubleshooting issues with an AIO liquid cooler not effectively cooling your CPU can be a systematic process. By identifying common causes and following step-by-step solutions, you can often resolve cooling problems and maintain optimal CPU temperatures.
Remember to check for trapped air bubbles, ensure proper cooler mounting, monitor pump operation, and maintain clean radiator and fan components. Additionally, pay attention to the thermal paste application and BIOS settings.
Sources:
- https://help.corsair.com/hc/en-us/articles/360044569252-What-to-do-if-your-AIO-cooler-powers-on-but-your-unit-still-overheats
- https://tech4gamers.com/aio-cpu-fan-not-working/
- https://landing.coolermaster.com/faq/how-to-determine-if-the-pump-is-functioning-on-your-liquid-cooler/
- https://www.hardware-corner.net/aio-water-cooling-high-temperature/